Branding
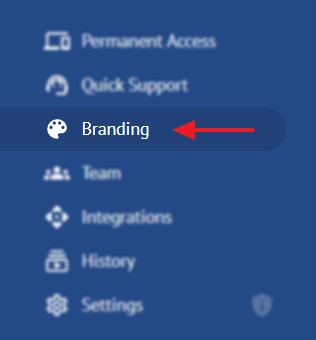
Use the left menu to go to the agent program branding settings:
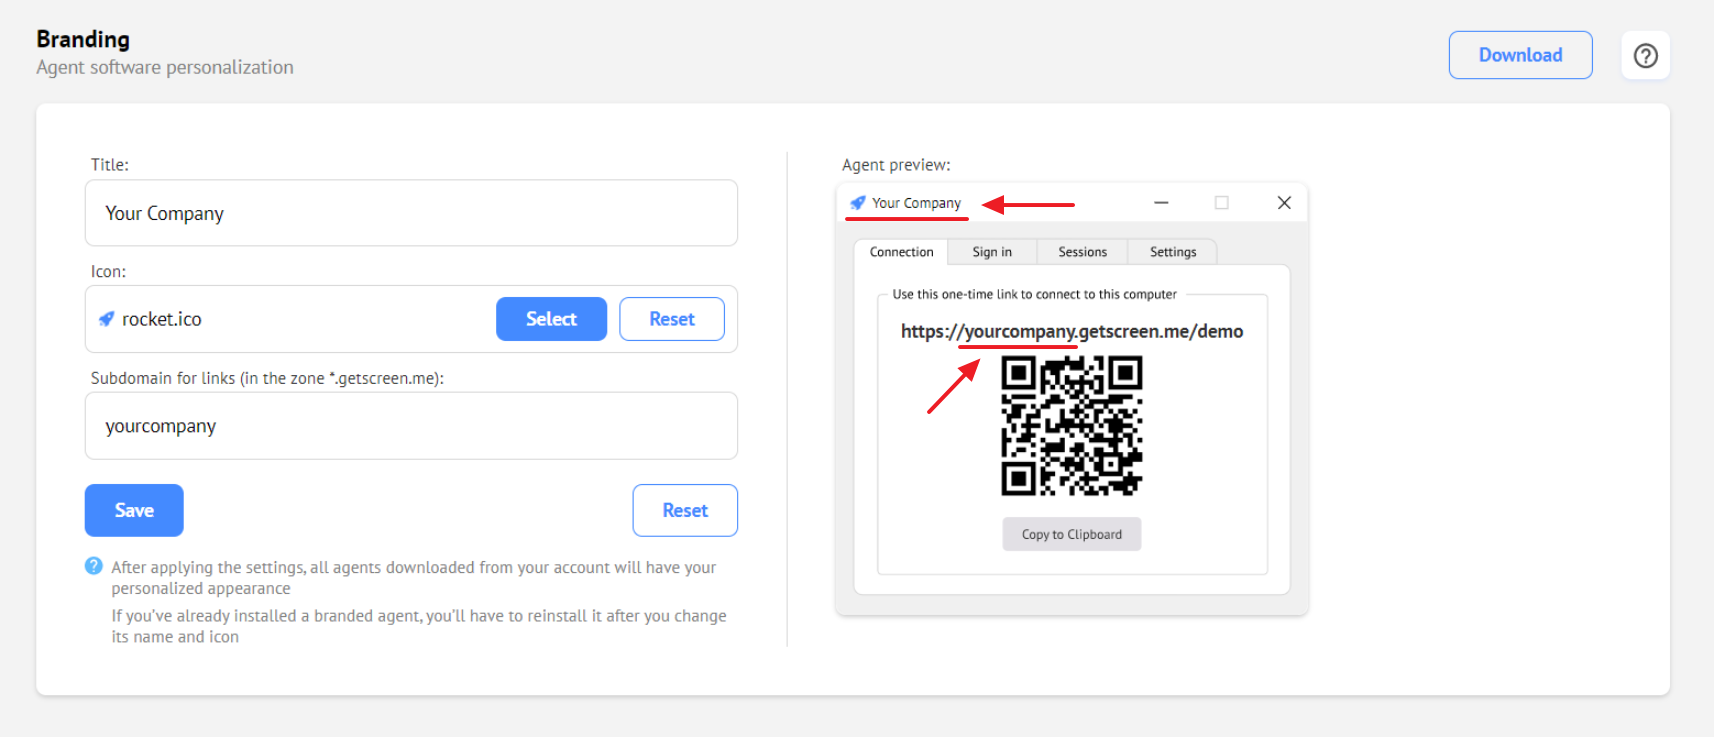
The left side of the page contains fields for customization, while the right one features the preview:
Branding settings are to be used on all program elements visible to users. This will improve users' trust and loyalty when they download and run the agent program.
Title
Up to 30 characters. To be displayed:
- as the downloaded file name;
- in the open program window header;
- in the tray context menu;
- in the desktop shortcut;
- in the browser connection page header.
Icon
.ico file is required. To create an .ico file, you can use the favicon.io online tool.
To be displayed:
- as a downloaded file icon;
- in the program open window;
- in the taskbar tray;
- in the desktop shortcut;
- as favicon.ico for the browser connection page.
Subdomain
3-25 Latin characters. Used to customize connection links. To be displayed:
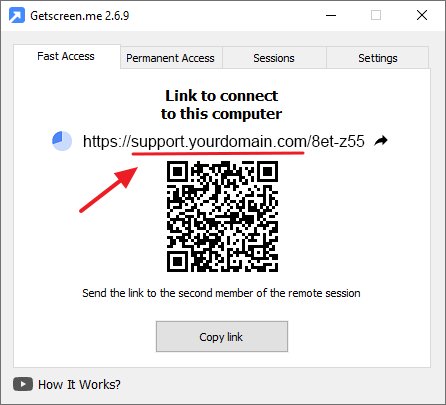
- in the fast connection link in the agent program open window;
- in the personal account permanent link settings.

File generation
After changing the branding settings, the next file download may be performed with a delay due to a new agent file generation. This also applies to Fast Support and Permanent Access agents.
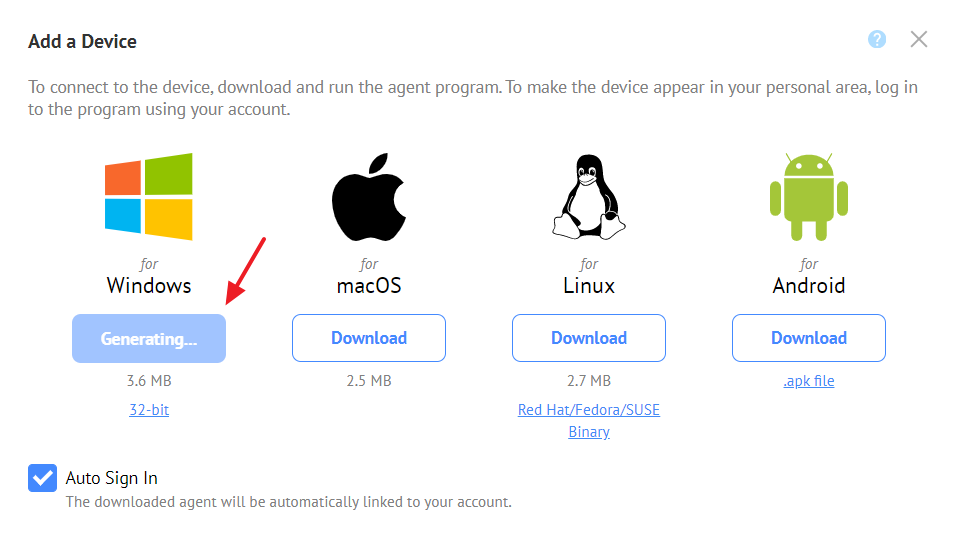
We recommend launching a forced generation of the updated agent program version by downloading it from the personal account after changing the branding settings:
Updating agents
Branding settings are not applied to previously downloaded and installed agent programs. After changing the settings, they should be updated manually. For the operating system, the program modified with the help of branding is perceived as different and independent from the original one.

Personal domain (CNAME)
To use your own domain, you need to configure the DNS server of your domain and your personal account.
Configuring on the DNS provider side
In this guide, we will consider the setup using the popular Cloudflare service as an example.
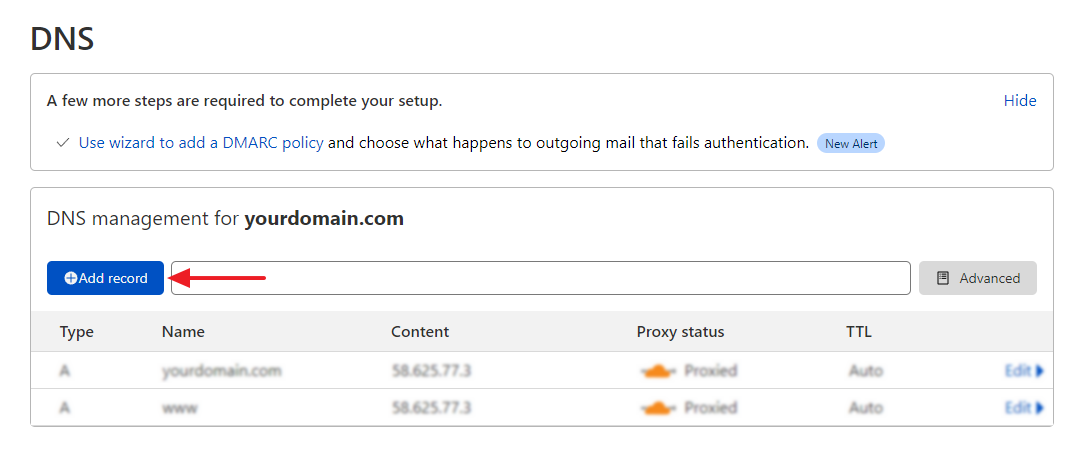
Log in to your account and go to the DNS section.
Click Add record.
Set the record parameters and click Save.
- Type: CNAME
- Name: support (you can specify any other name, it is used as a subdomain the page of connecting via the code is opened at)
- Target: go.getscreen.me
- Proxy status: DNS Only
- TTL: Auto
A new record appears in the DNS list.
Configuring in the personal account
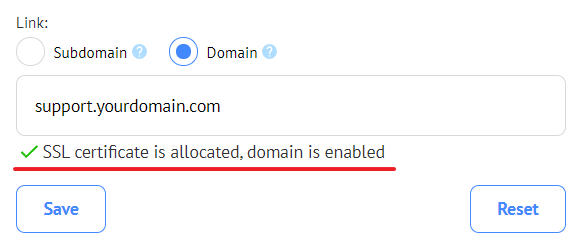
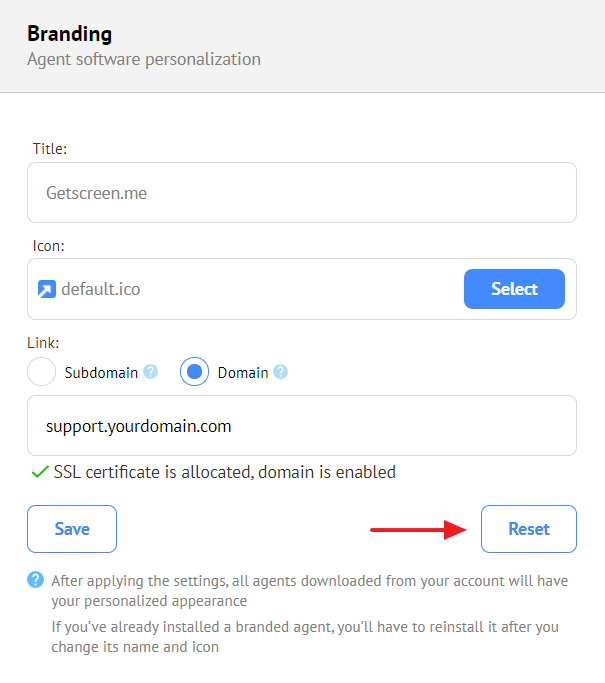
In the Branding section, switch to Domain, specify the address you configured in Cloudflare and save the changes.
If the setup is successful, you will see the corresponding message stating that the SSL certificate for your subdomain is allocated and ready for use:

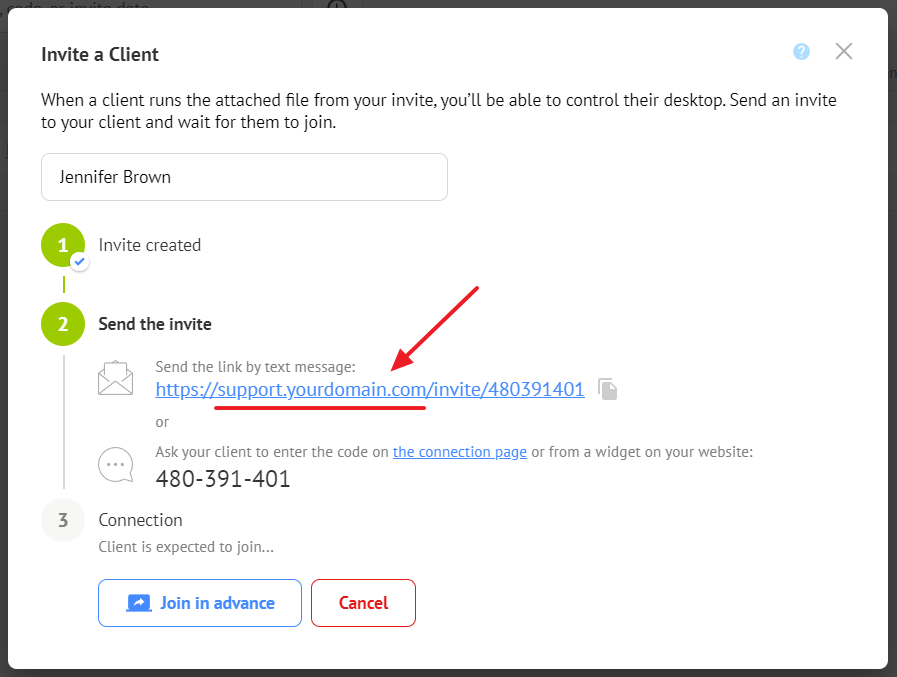
After configuring the settings, connection and invitation links are replaced:
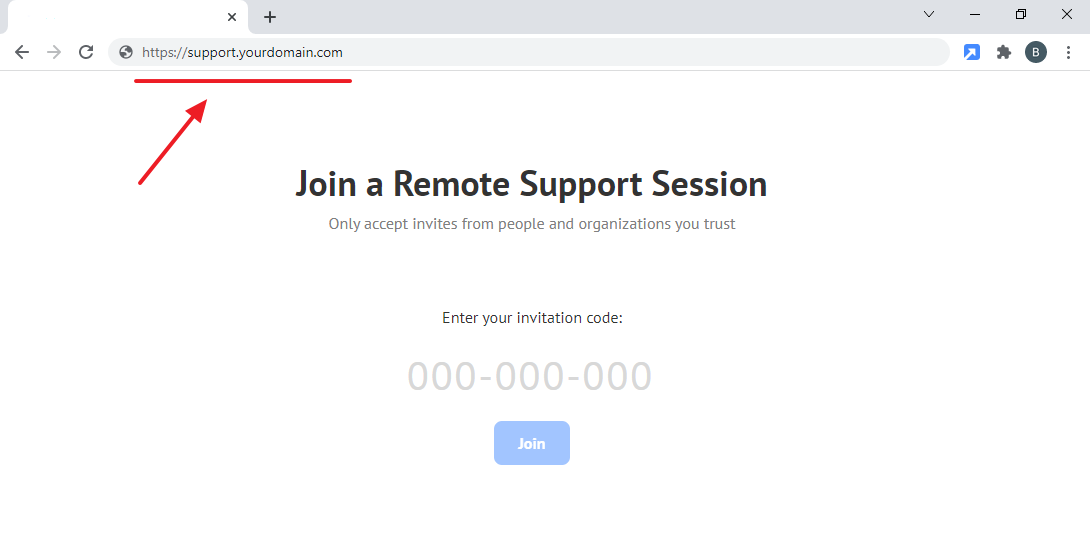
The page of connection via a code is opened at the URL you have specified.
Disabling a personal domain
To disable or replace a personal domain, go back to the «Branding» section and click Reset.
Last update: June 16th, 2025
