Self-Hosted Server Installation
To install, follow this instruction consisting of several simple steps in order.
Installation Environment
Before installation, you must prepare the environment yourself in accordance with the System Requirements.
You must also have a purchased domain and an A record added to the DNS server pointing to the dedicated IPv4 address of the environment in which you are deploying the server.
You will also need a mail server and authentication credentials for it, because in many functions the server uses email to communicate with technicians.
Run Install Code
In the personal account of your account, go to the Server Installation section, copy the provided code, and run it in your environment:
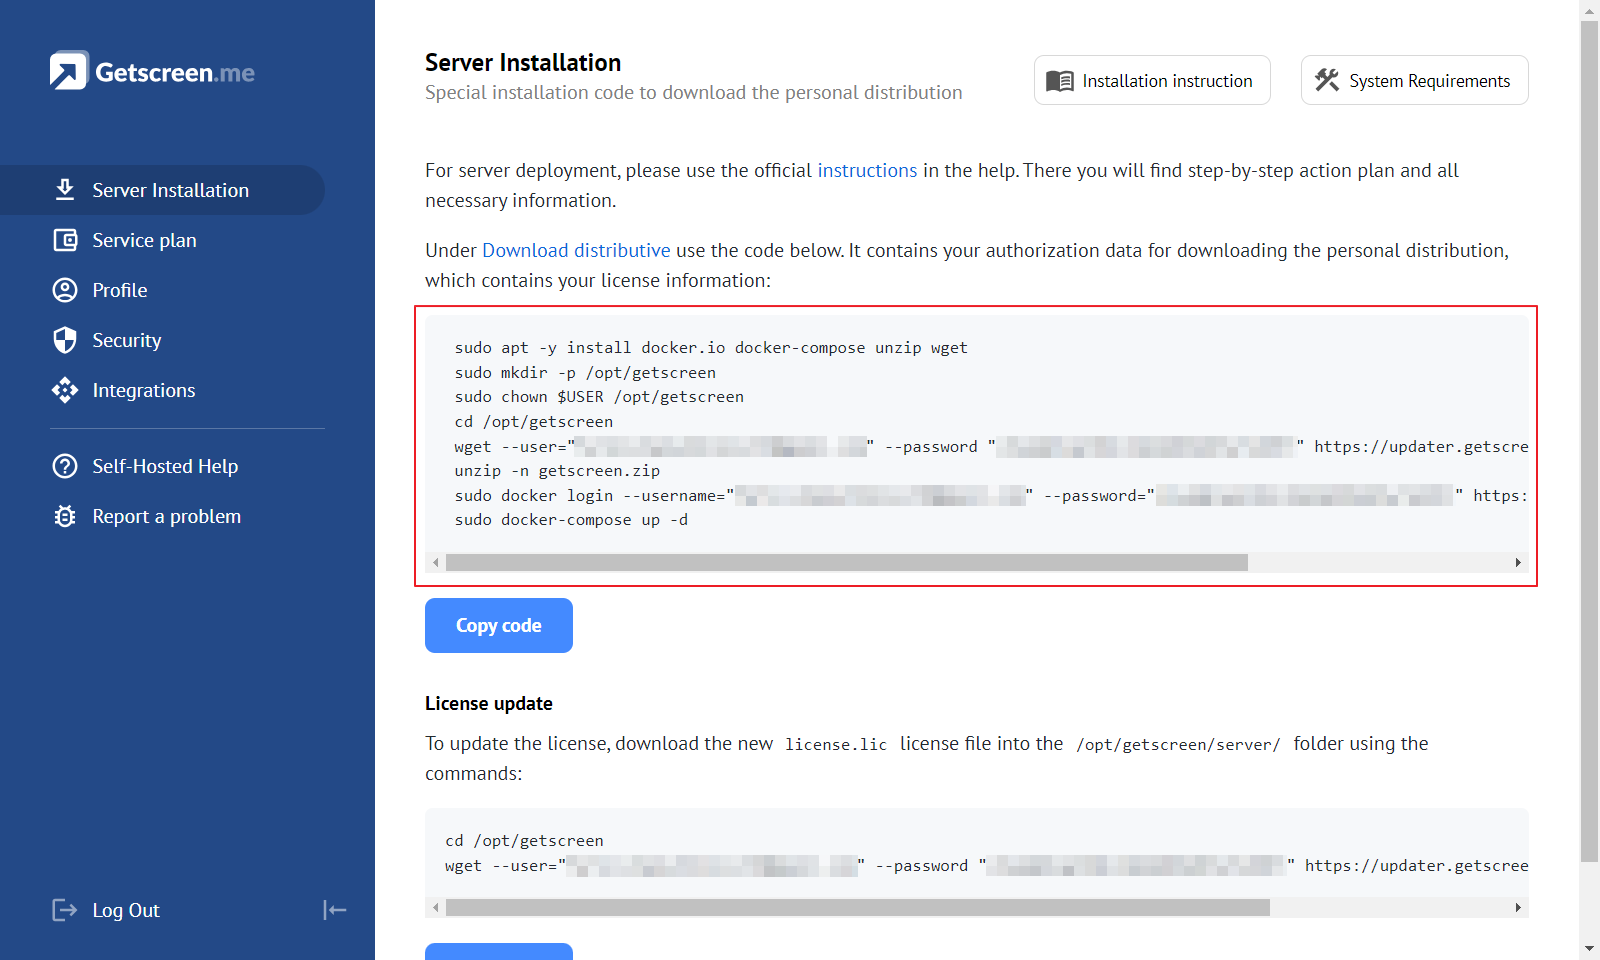
The installation code will perform the following steps:
- Installs the minimum required environment packages:
docker,unzip,wget. - Creates the
/opt/getscreendirectory. - Downloads and unpacks your personal system image bound to your license into it.
Self-Hosted Account
To get access to the Self-Hosted account, contact the sales department or request a demo license on the Self-Hosted Remote Desktop Software for Enterprise Clients page.
Access is available only via a web browser. Do not attempt to sign in to a Self-Hosted account using the desktop dashboard application.
Personal Data
The installation code contains your personal data tied to your license. Please do not share the installation code with third parties to avoid losing your license to use it.
Issue SSL-certificate
A self-signed SSL certificate is included in the standard delivery of the system. It can be found in the following files:
| Path | Description |
|---|---|
/opt/getscreen/cert/server.crt | file in PEM format with a certificate (or a chain of certificates) |
/opt/getscreen/cert/server.key | file in PEM format with a private key |
To ensure that browsers do not generate warnings about insecure connections, you must obtain a full-fledged certificate. This can be purchased from a certificate authority, or allocated for free from Let's Encrypt .
Run the following commands, replacing <hostname> with your domain name. During execution, follow the instructions the system gives you. Access to your domain’s DNS server will be required — make sure to take care of this in advance.
After completing all the actions, the files of the obtained certificate will lie in the following directories:
| Path | Description |
|---|---|
/etc/letsencrypt/live/<hostname>/fullchain.pem | certificate with full chain of certifications |
/etc/letsencrypt/live/<hostname>/privkey.pem | private key |
Copy these files to the /opt/getscreen/cert/ directory by running the following commands:
Setup SMTP Server
Sending mail is required to deliver user invitation emails or connection invitations.
Specify your mail server access settings in the mail section of the /opt/getscreen/server/config.json file:
    "mail": {
        "user": "[email protected]",
        "password": "changeme-mail-password",
        "server": "smtp.mailserver.com",
        "port": 465,
        "email": "[email protected]"
    },
Optional
You can skip configuring the SMTP server if it is not prepared at this stage. However, you should understand that the server will not be able to send invitation or notification emails.
Launch System
To start the system, run the following commands:
You should see the header of the running server:
Check Errors
Check the main server and component logs for errors.
The log files are stored in the following paths:
| Path | Description |
|---|---|
/opt/getscreen/server/log/*.log | Logs of Main Server. |
/opt/getscreen/download/log/*.log | Logs of Download Component. |
/opt/getscreen/image/log/*.log | Logs of Image Component. |
/opt/getscreen/proxy/log/*.log | Logs of Proxy Component. |
/opt/getscreen/storage/log/*.log | Logs of Storage Component. |
If there are errors, they will tell you the procedure to correct them.
Login to Server
Open your browser and go to https://<your-ip> or https://<your-domain>, where:
<your-ip>is the public IP address of the server<your-domain>- is the domain for the server in your license
The login page should open.
The default administrator account credentials:
Change the Password
Be sure to change the password for the administrator account! You can do this immediately after your first login in the Profile section.
Server Maintenance
Please review the maintenance recommendations on the page Self-Hosted Server Maintenance.